CERVICAL-KREMS
Veteran XV
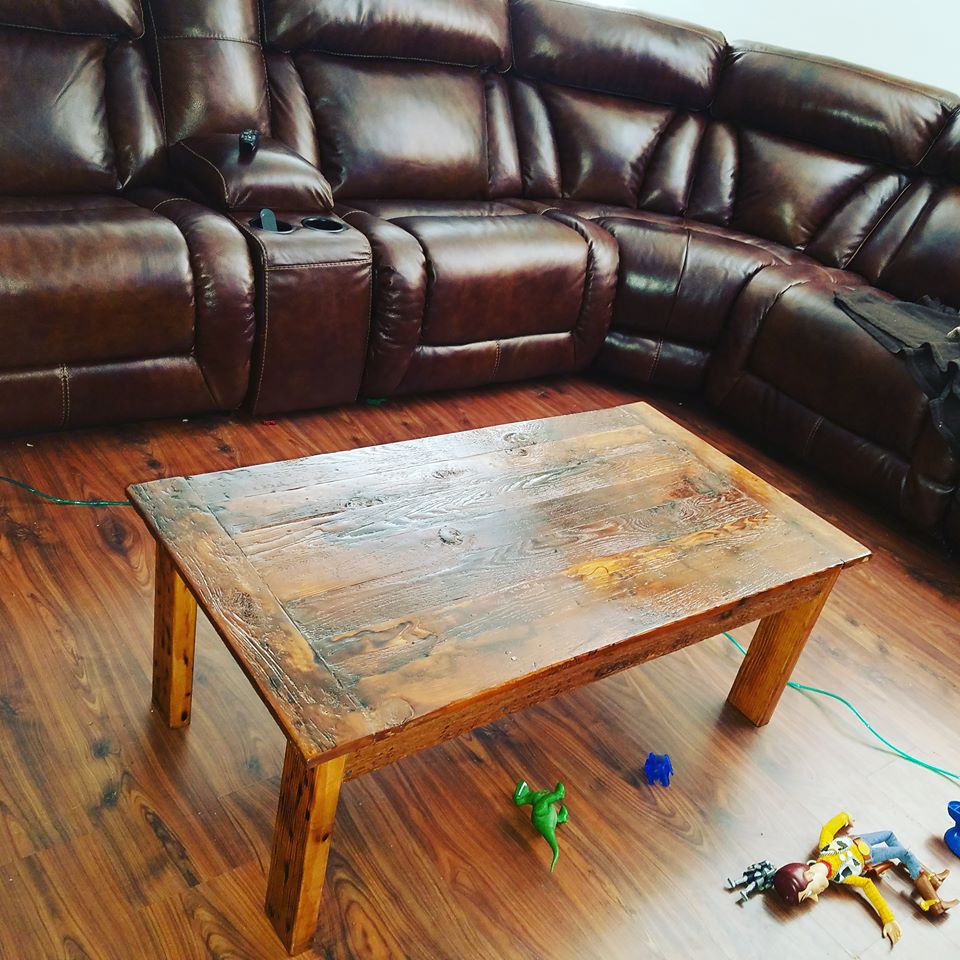
I like making things too
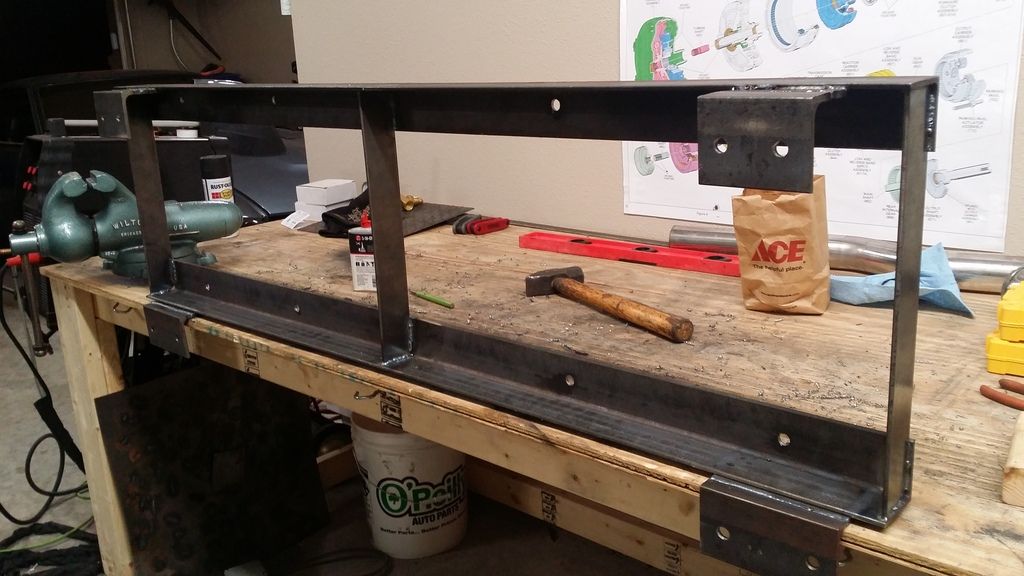
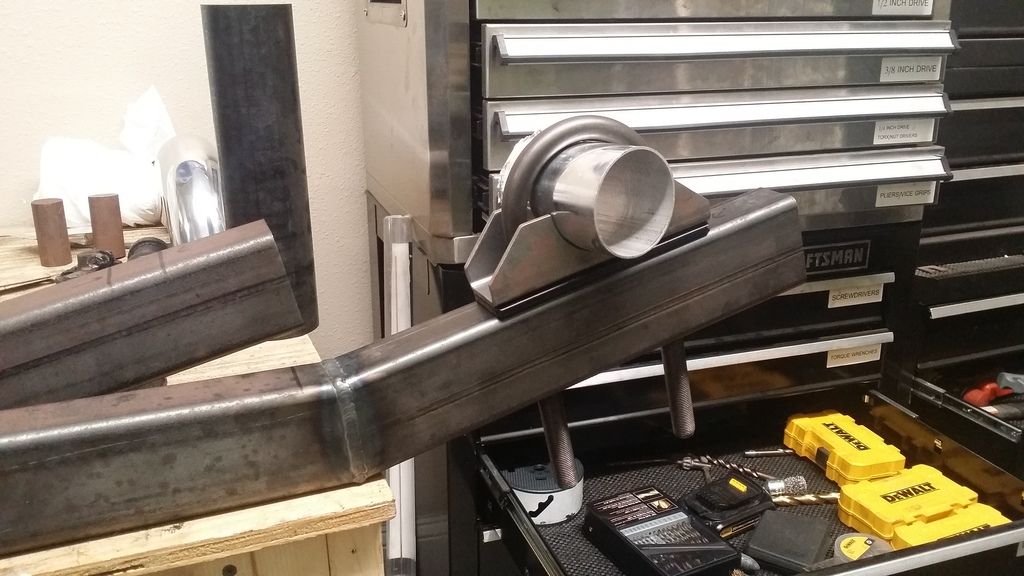
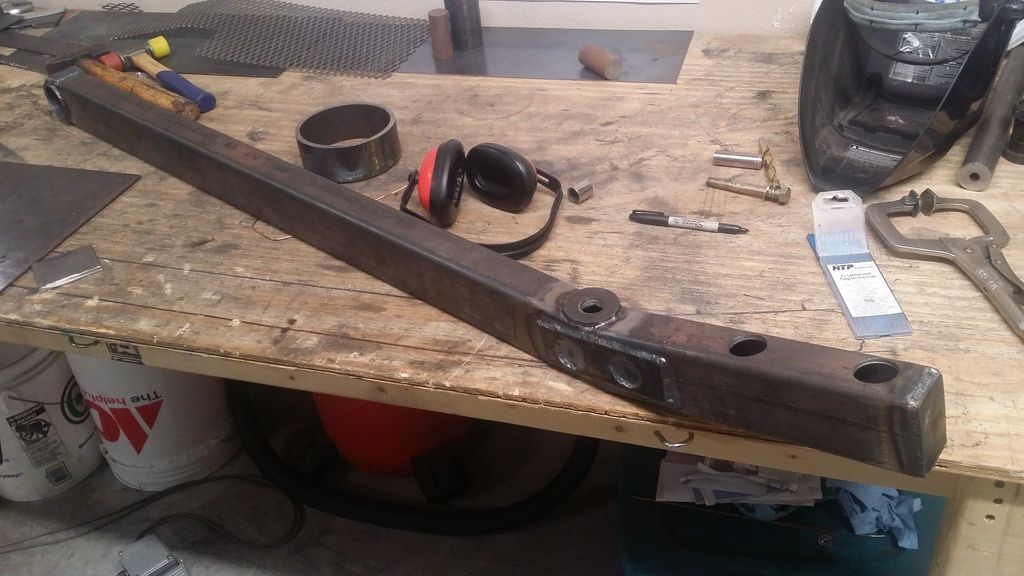
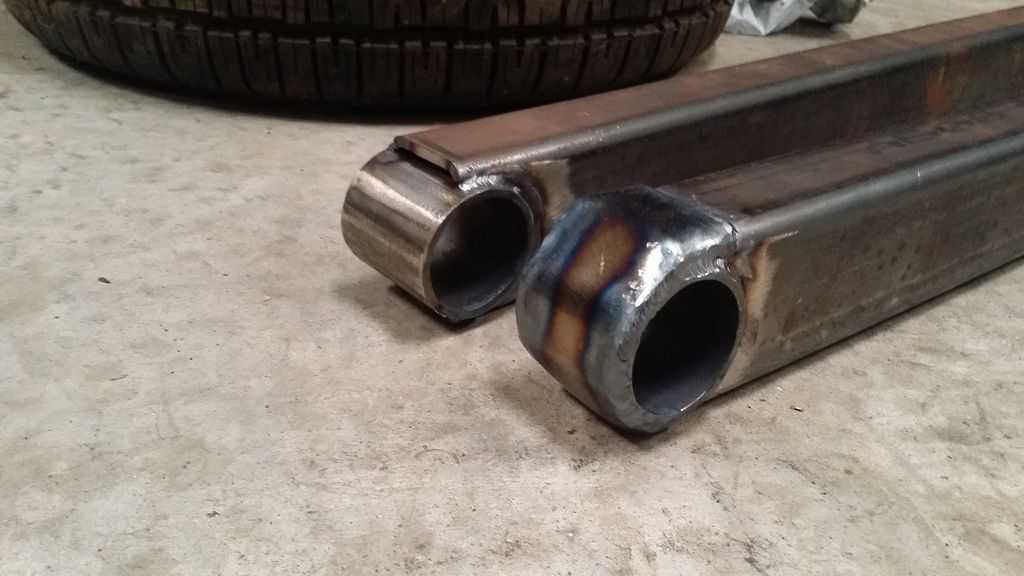
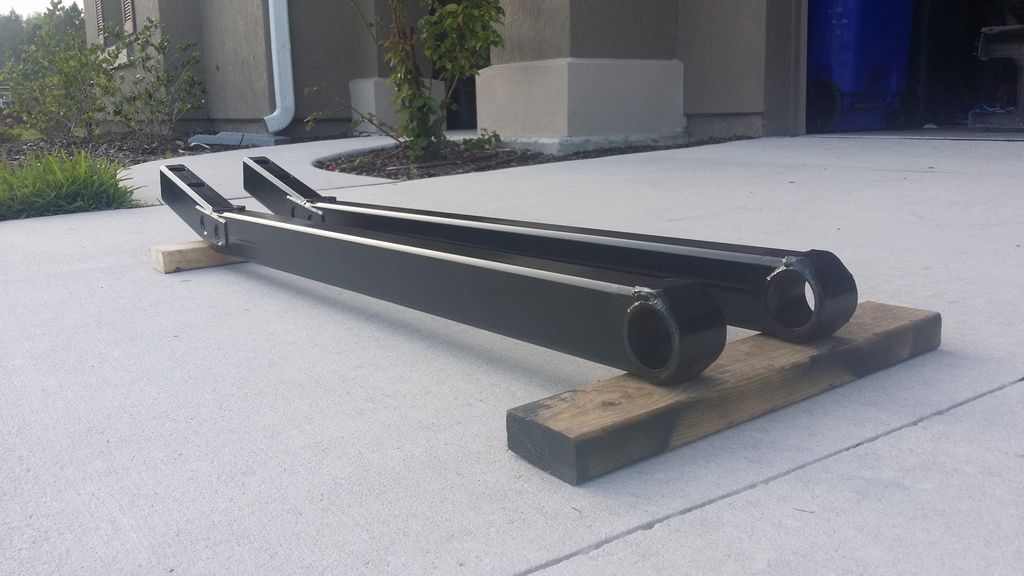
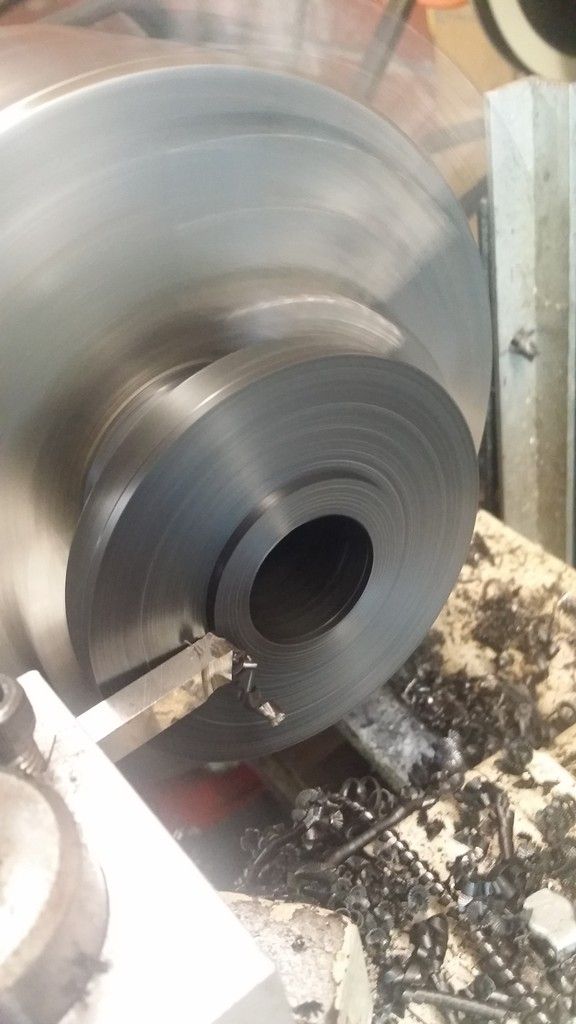
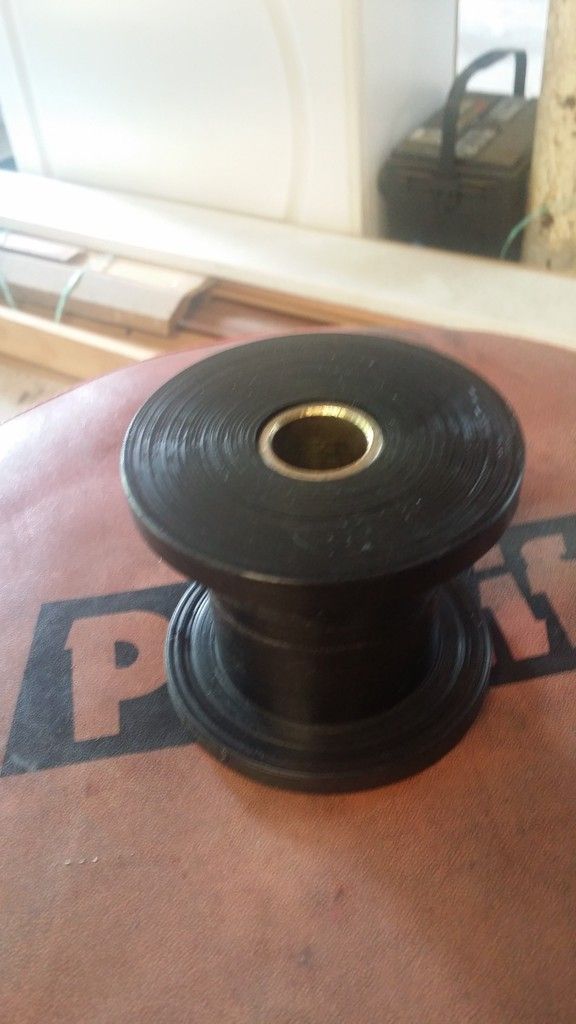
Trailing arms and bushings for my old truck
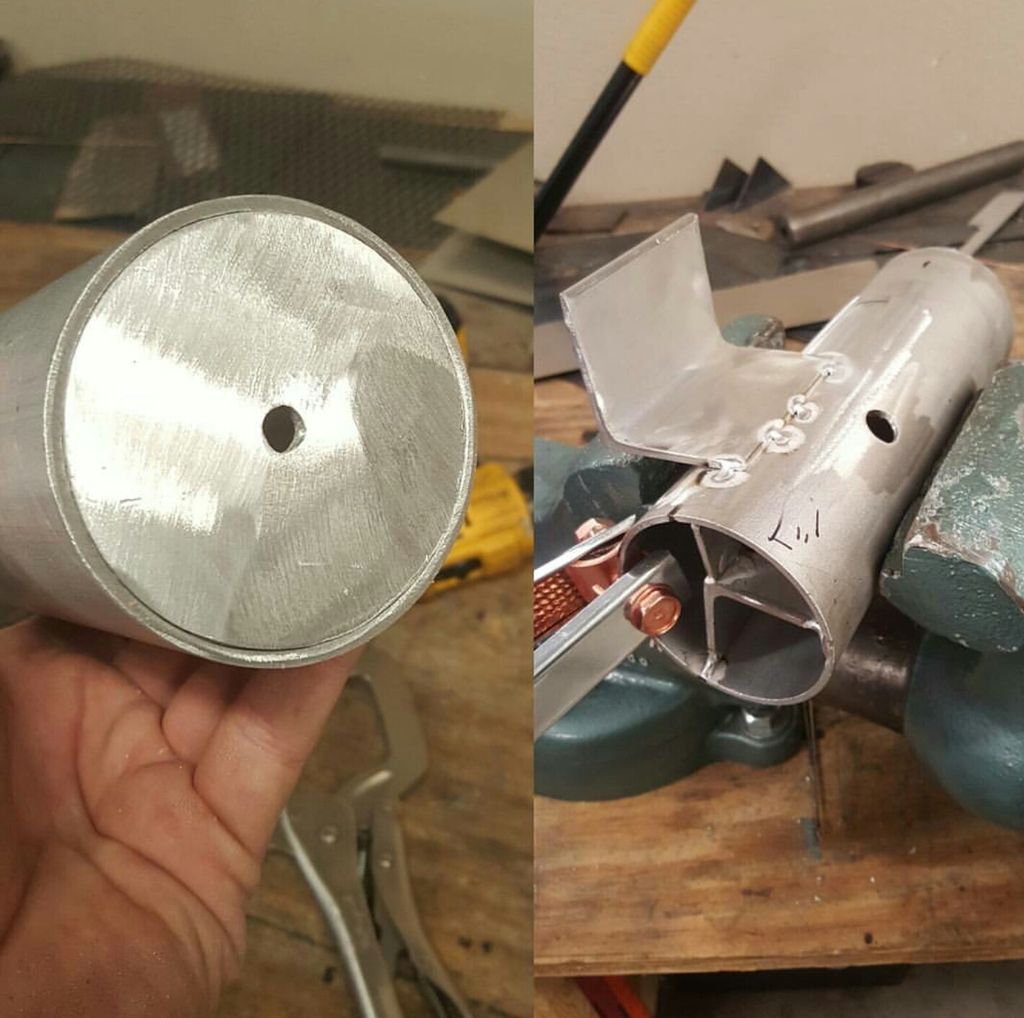
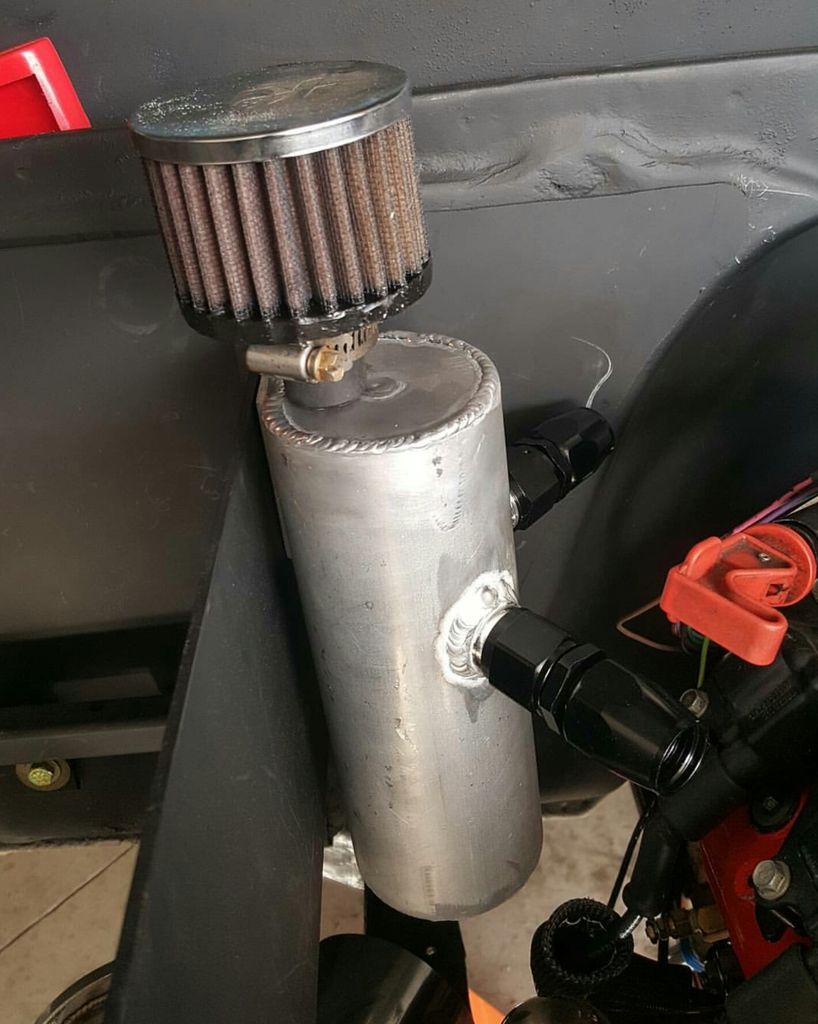
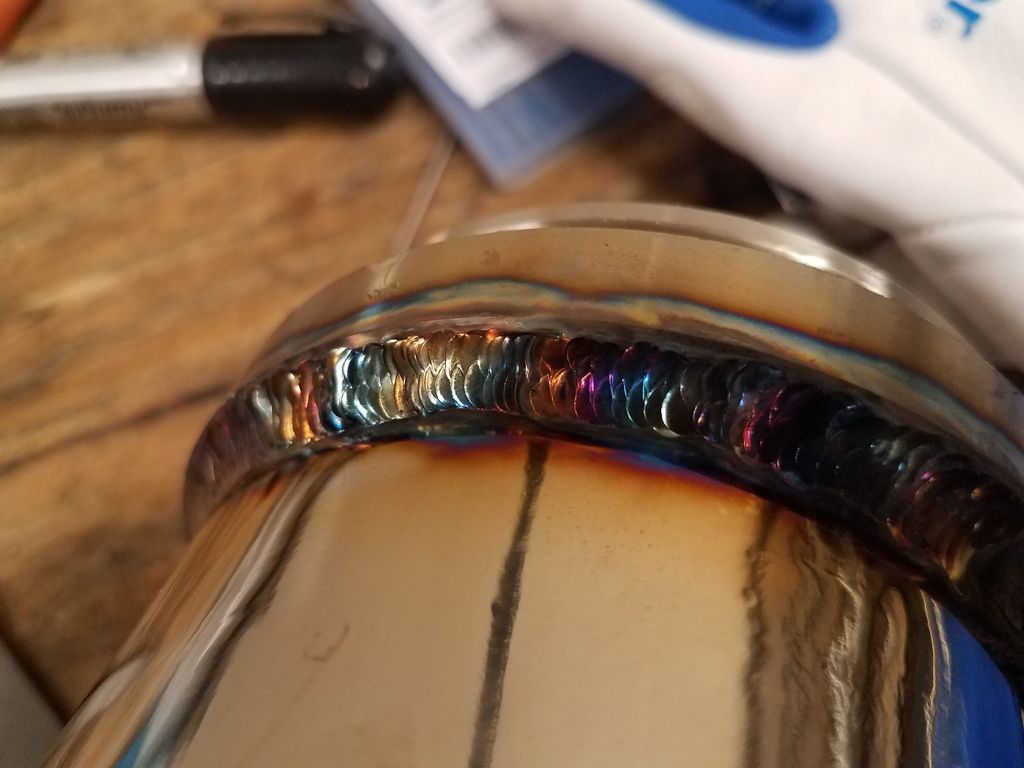
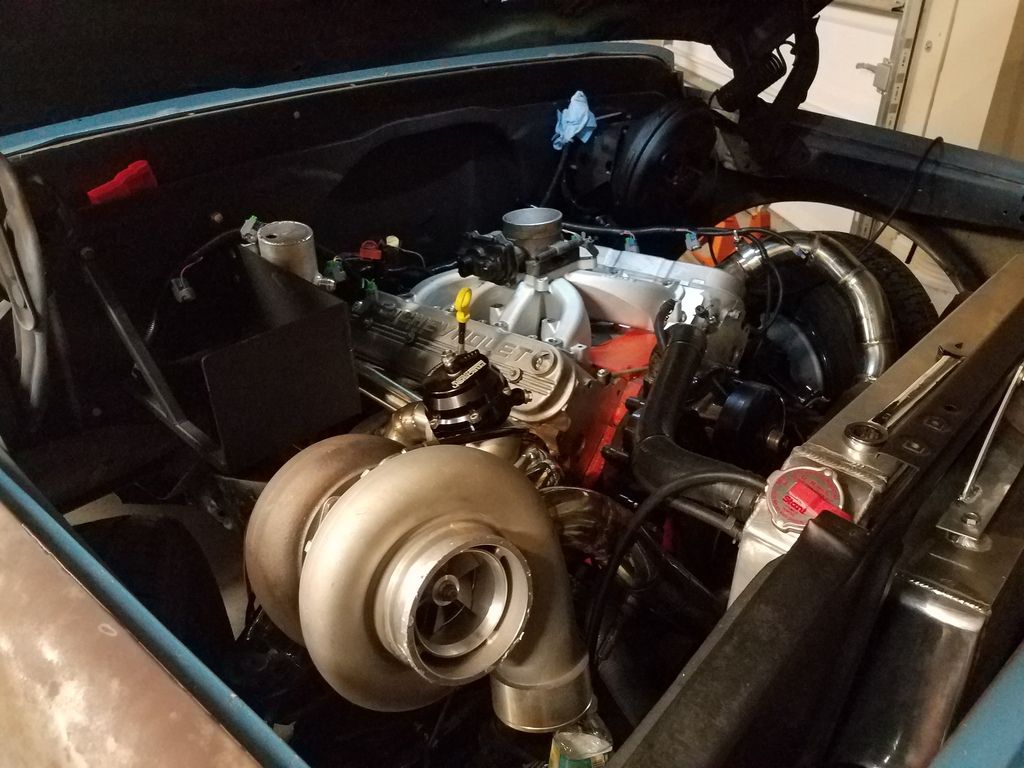
Turbo piping for same truck
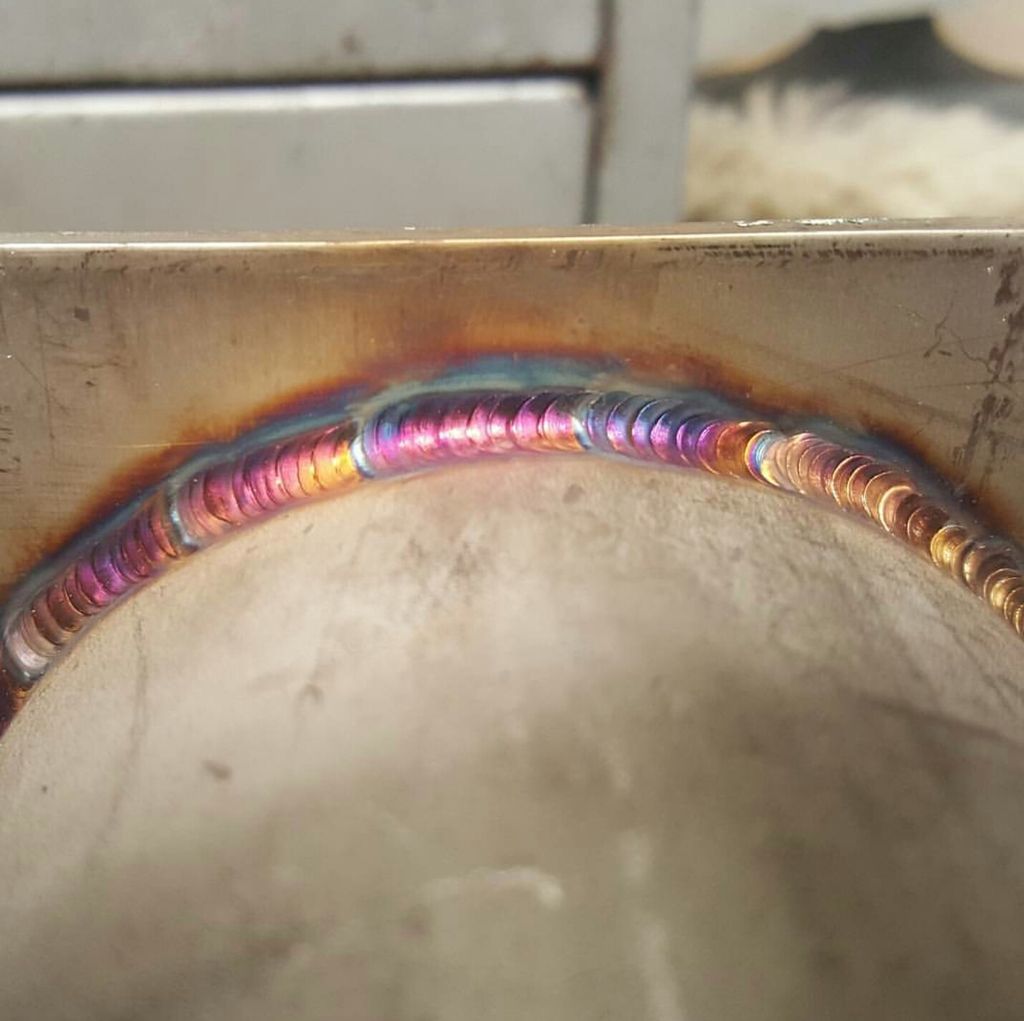
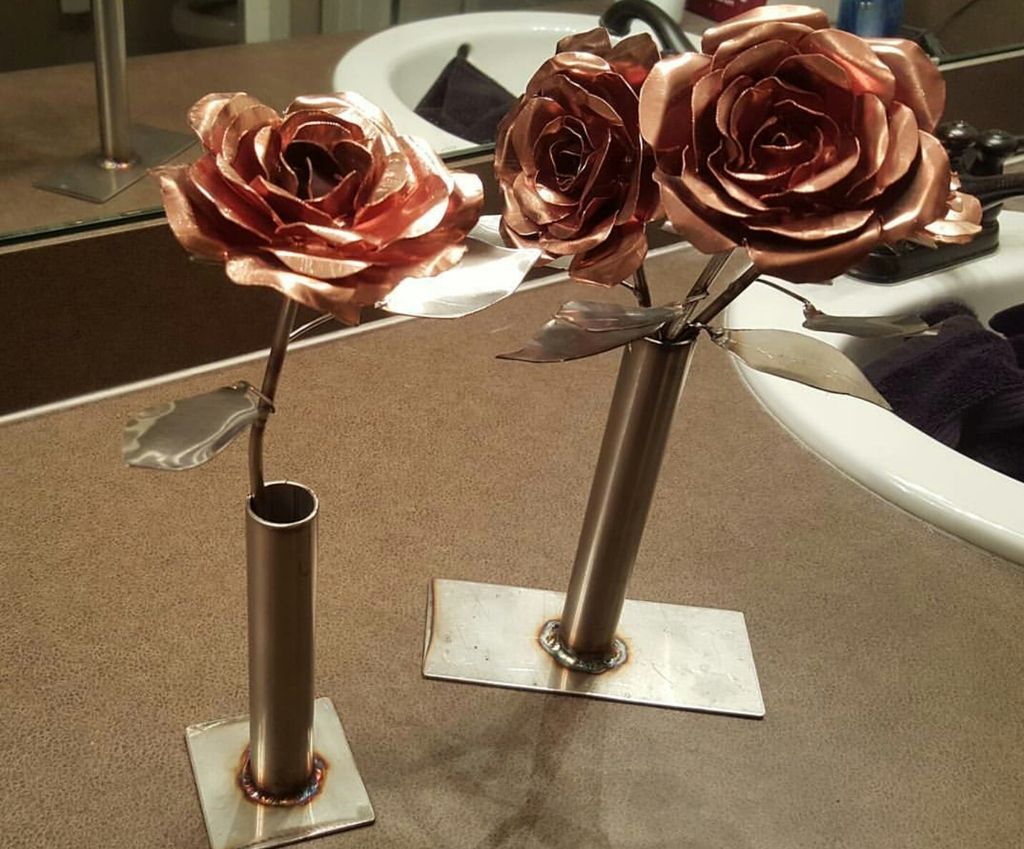
Stainless/copper roses
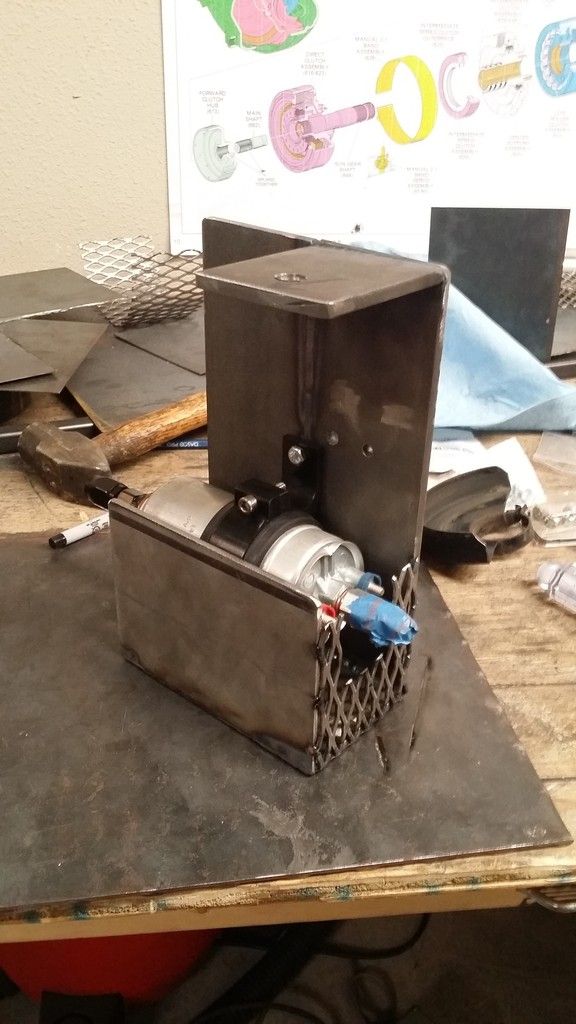
Battery holder

Trailing arms and bushings for my old truck
Turbo piping for same truck
Stainless/copper roses
Battery holder

")